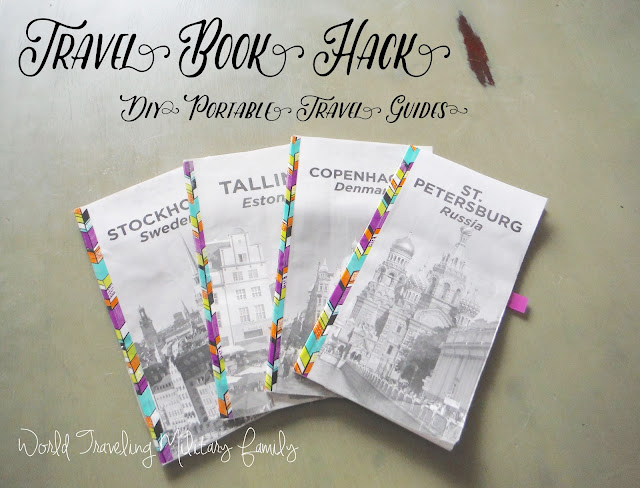
We recently went on a Baltic cruise (more to come!) and I used this Travel Book Hack – DIY Portable Travel Guides to lighten our load! I can say that despite being a book lover I’m a HUGE fan of this hack and I’ll probably never carry a heavy book again 😉
I’ve had several people ask on the Facebook page how to make these handy little guides so I decided to do a step-by-step tutorial for you in case y’all are visual learners like me. It really only takes a few supplies and just a few mins to make AND they can be saved and popped back into the book when you get back!
First you need a travel book, I love Rick Steve’s books as most of you already know, but one of the great things about his Northern European Cruise Ports book is that he purposely made the sections divided up and easy to cut out & make into the handy booklets! I tell ya this guy thinks of everything! If your using different travel books you may have to get creative with your starting and ending pages but I’m sure it can still be accomplished.
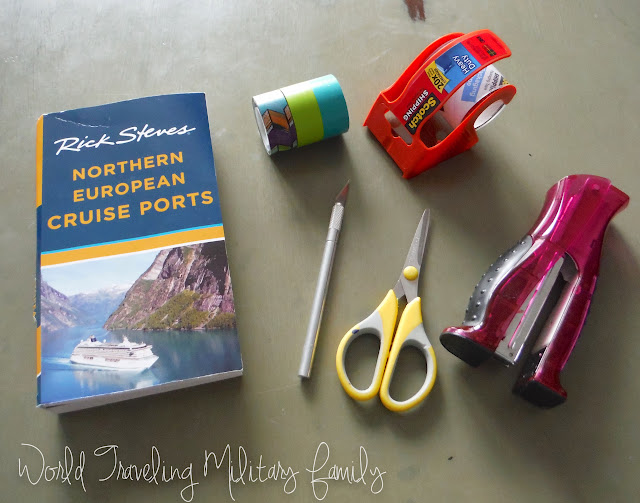
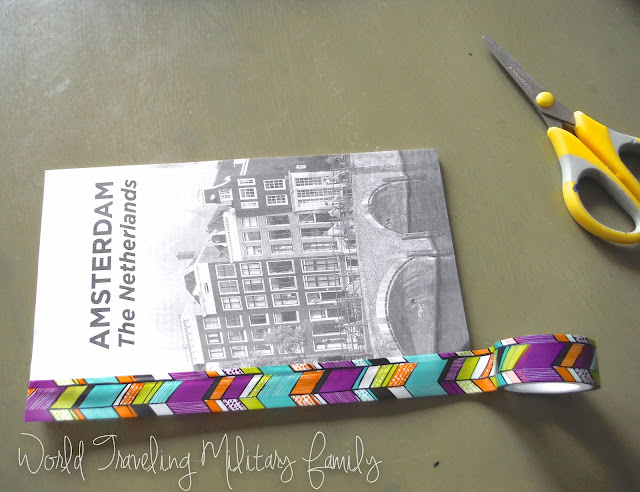
As for supplies you’ll need a Travel book, X-acto knife, stapler, tape for binding, packing tape, & scissors.
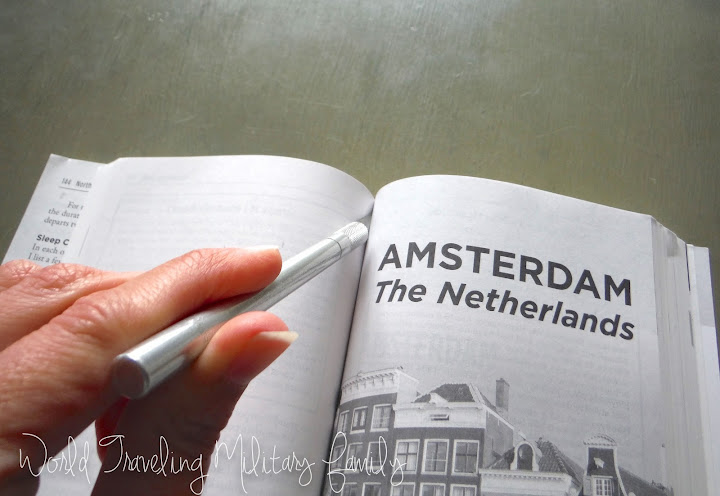
Start by taking the X-acto knife and cutting down to the binding along both the front and the back section of the pages you needs. See how easy RS makes it with the cover for the section starting on the right page and it serves as a great cover for the portable guides.
Make sure to cut all the way (without going through the spine) to pull the pages out easier.
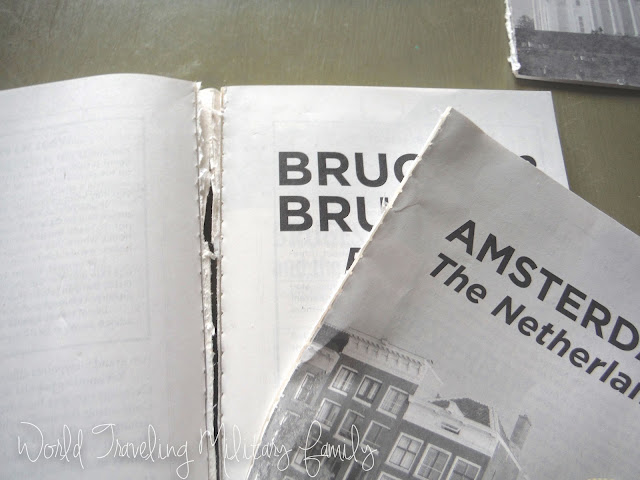
When pulling the pages out, go slowly so you can pull them out with the tape still holding them together, this will help keep your portable guide strong and intact.
After you have it out, you’ll staple along the edge, staple as little or much as desired.
I like lots of staples but I’m sure a few would work as well.
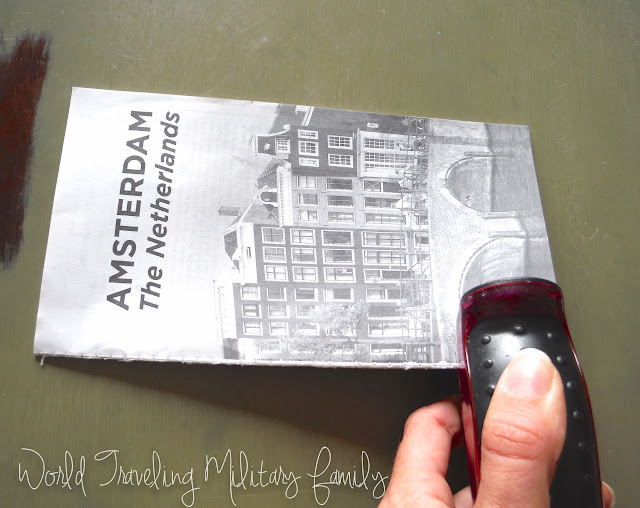
Now use tape to cover the staples on the front and the back. You can use the clear packing tape for this but I wanted mine to look cute so I used this cute Scotch tape I got on clearance at the BX. I ran a strip down the front with half of it on the front part.
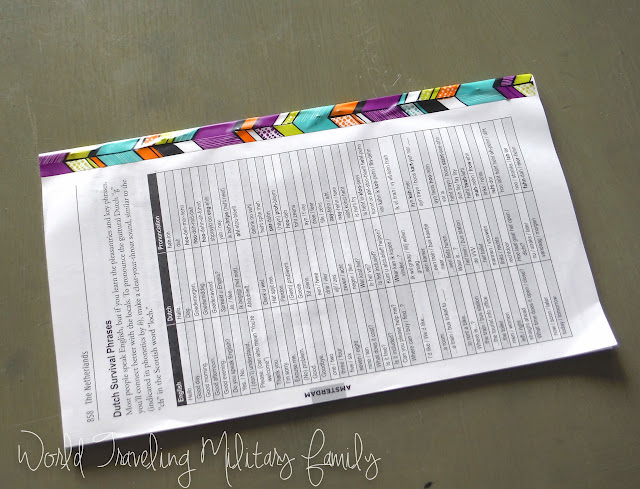
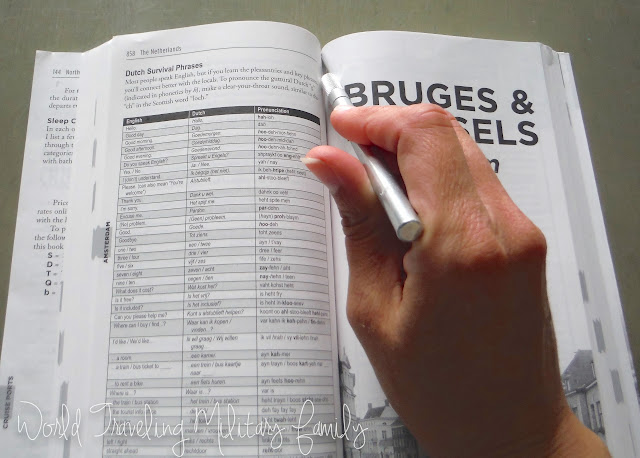
Then I cut it at the bottom and wrapped it around the back to cover the back staples as well. See he even ends the section with the useful phrases!
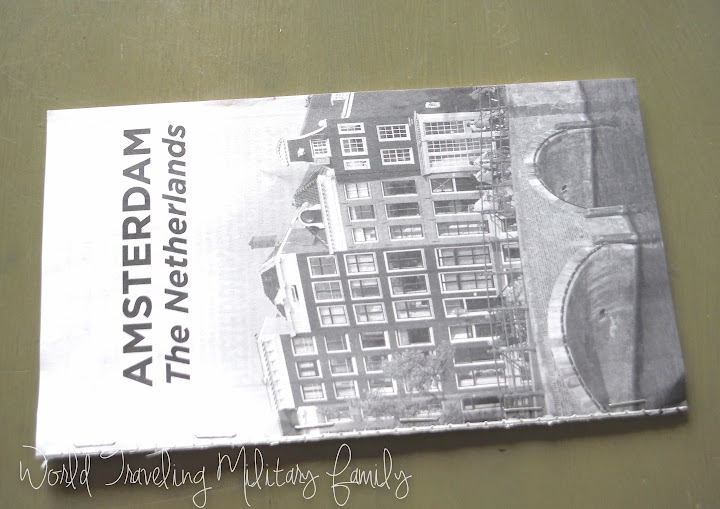
This can be your finished product if you’d like, I wanted mine a bit more sturdy and to hold up in case of rain so I opted to continue on and use the packing tape on the front & the back.
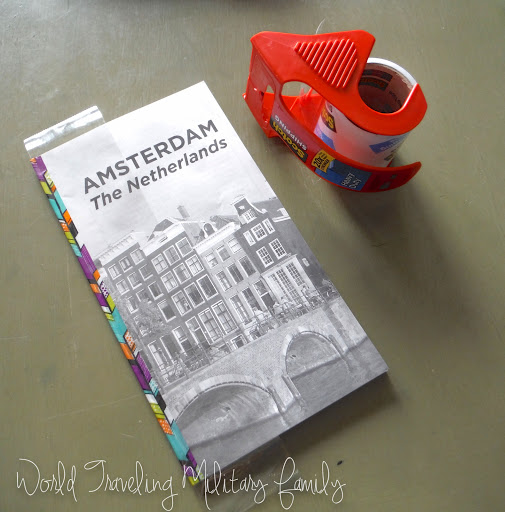
I ran the clear tape down the front, it took 3 pieces to go all the way across. Then I trimmed it off at the top and the bottom, you could also wrap it over the edge if you’d like. I did the same thing to the back and in no time my portable travel guides were finished!

When we got back from the trip I just popped them back into place in the book, I did tape the book spine with a bit of clear tape as I did slice it a bit.
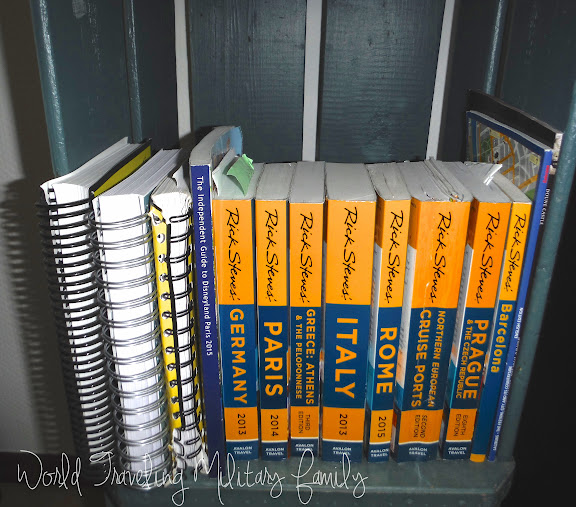
Then it went back on one of my travel shelves! That way if I need to refer to them again I still have them or I can easily loan them out to friends.
I also did a quick video showing me making one as well if that is easier for you to see how it’s done.
These were SO much easier to carry around at each port! I only took the one we needed for each day and left the rest in our room. I also put a little removable tab on the page where the start of his self guided walking tour was so that it would be easy to flip to and get started after we got into the city from the port. I hope this helps make your traveling a little bit easier and that you’ll love these portable guides as much as I do! Happy Travels!
What a great idea. Love that it helps you travel lighter.
This was SO hard for me being a book lover BUT it’s SO worth it! It helps that he designed the book to be used like that.